Did you know there’s an easy way to change the adhesive on the front of your hairpiece without having to remove the entire thing? If you didn’t, then you’ve been missing out!
Forget about taking your entire hair system off when all you want to do is to change the adhesive on your frontal hairline. Follow these easy steps and see for yourself!
We have to warn you though, the fact that this is an easier process and that it takes less of a hassle than removing the adhesive in your entire system doesn’t mean that you shouldn’t take your time when doing it. As we’ve said before, you should plan ahead and make sure you have plenty of time to change the adhesive calmly. Don’t wait until the last minute to do it.

The secret to changing the adhesive in the front of your hair system actually lies on how you apply your glue (or tape) when putting your hairpiece on. You probably didn’t see that one coming, but keep reading and it will all make sense.
This tip has been featured in other blog posts before, but in case you missed it, the key here is to leave a small gap on the sides of your hairpiece when applying the adhesive. Think of it as two halves, the front and the back; just leave a small space between them instead of putting adhesive all around. If you happen to have permanent attachment on the back, it goes without saying that you can skip that step.
Now that you’ve applied your bonding agent and spent some time with your hairpiece on, the moment has come to change the adhesive in the front. How should you do it? It’s easier than it sounds, and once you do it a couple of times, you’ll see that it’s also faster than you think.
Just to clarify a bit, although we’ll be using liquid adhesive as an example, this same process works for tapes too.

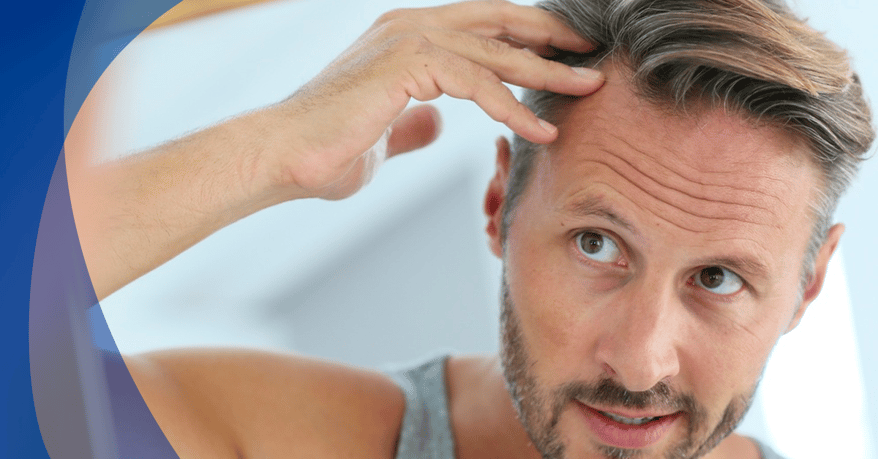
So, let’s get to the point. What you want to do first is to clip back the hair and get it out of your way. Then, grab your favorite solvent and apply it directly to your hairline. Remember to get the nozzle as close to the edges of your hairpiece as you can if you’re using the spray kind.
Once you applied it, give the solvent a few minutes to get the job done. It will work faster and better if you choose your solvent depending on the type of adhesive that you’re using. While you’re waiting, you can check out Advent Hair’s line of solvents and removers to make sure you’ve got the solvent that best suits your needs; if not, then take your pick!
We also advice you to keep a towel around just in case the solvent starts dripping down your face. Want to avoid the dripping altogether? Then you should try the Telesis Super Solvent Gel, a gel-like solvent that won’t drip or run and is great for breaking down any stubborn bond points.
After enough time has gone by, you can start removing the front of your hair system. Remember, don’t grab or pull the lace area, just push it back gently and slowly. You will feel as it starts lifting off by itself.

When the front is completely lifted, apply a bit more solvent on your scalp and use your fingers to feel the edge of your hair system in case there’s any residue. If there is, apply some more solvent on the lace area and massage it. Trust us on this one, it is very important to make sure you get rid of any residue that might be left on your system or your skin. If not, it can damage your hairpiece on the long run or irritate your scalp, so don’t be afraid to repeat the process as many times as you need.
If you feel like you’re struggling a bit, or maybe you find yourself using tons of solvent to remove that adhesive residue that just won’t come off, then we’ve got an extra tip for you. Apply dishwashing liquid on your scalp and rub it in with your fingers before you use solvent on your skin. No, your eyes are not fooling you, dishwashing liquid works wonders when it comes to removing any kind of goo, so it really comes in handy when changing your adhesive.
Once you’re done, gently brush through the hair on your lace front to double check you didn’t miss anything, and that’s pretty much it! Make sure you clean and prep your skin before applying a fresh new coat of adhesive.
Got any other question for us? Feel free to give us a call at our toll-free number 1-800-756-8585. We’ll be more than happy to help you with any other burning questions or doubts you might have!