By Jeff Waite on Dec 16, 2018 10:00:00 AM

Attaching a hair system doesn't require master skills to do it right. With the correct tips, you’ll have a long-lasting bond and perfect results. There are two main options when it comes to attaching a hairpiece: tape rolls or liquid adhesives. Both ways guarantee a stronghold, it all depends on what you feel more comfortable with.
Some customers prefer using tape rolls because they believe it’s more practical, while others choose to use adhesive because the hold feels more secure. If you still haven’t decided which method of bonding you would like to use or are thinking of changing from tape rolls to liquid adhesives this blog is for you! Read along and learn the best tips to attach your hair system with liquid adhesive and discover how easy it is.
Solvent-based vs. Water-based
Before jumping into the attachment method we have to choose a good adhesive. You can find solvent-based or water-based liquid bonding adhesives, both fulfill their function of giving you a long-lasting bond. It just depends on your preference.
In the physical aspect of the adhesives, you can difference the solvent-based from the water-based because it has a clear look, while the water-based are white and turn clear when it’s completely dry.
Solvent-based hairpiece adhesives take less time to dry than water-based and usually provide more tack for a longer wearing time. On the other hand, water-based is said to be less invasive over the long term. In other words, it’s up to you and which one gives the best results. One thing you must always remember is that when attaching your hair system with any of these they must be completely dry to guarantee a perfect result.
3 easy tips to attach your hair system with liquid adhesive perfectly
1. Clean
One of the most important parts of having a good outcome is to start doing everything right from the beginning.
The first step of attaching is to clean your scalp. We recommend shampooing and shaving. It’ll help you get rid off any unwanted residues and have a better hold. After shampooing the next step is drying your scalp off. This is when the bath towel comes in handy. Your head should be completely dry before moving to the next step of scalp preparation.
2. Apply & Dry
Now that your scalp is squeaky clean we can move on to apply the liquid adhesive. Remember to never apply it right to the hairpiece, it has to be spread over your scalp and then your hair system will be placed over your head.
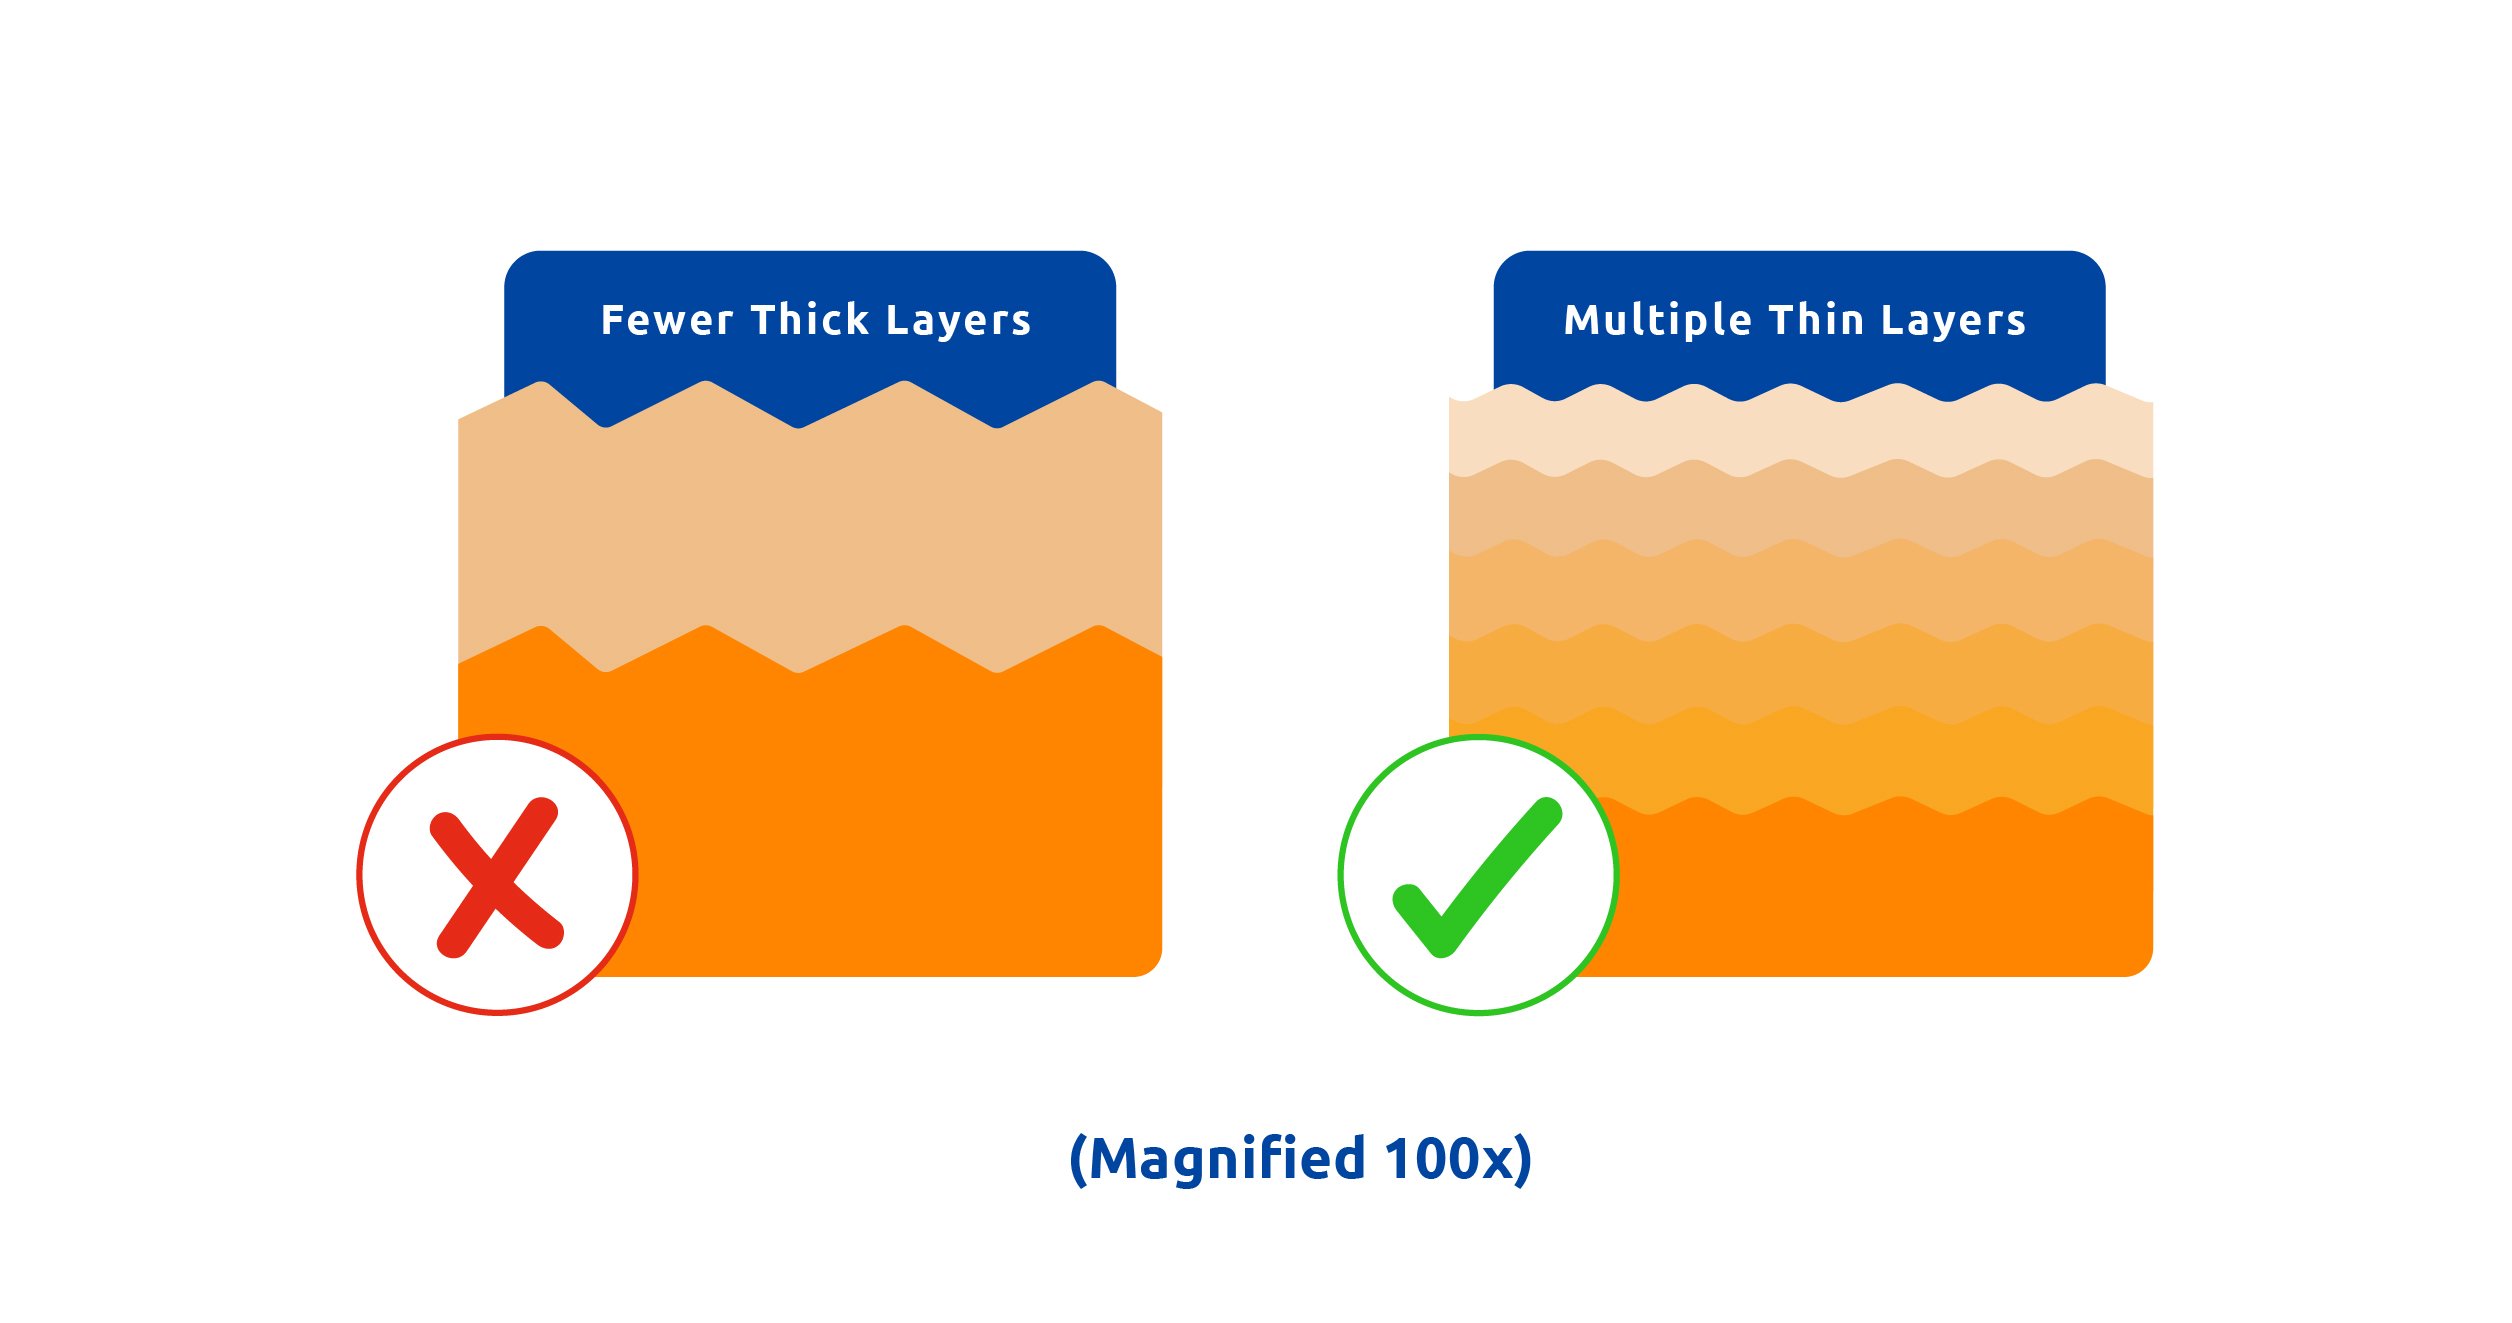
When applying the liquid bond, be careful to apply it in thin and even coats. If you apply it in thick layers your hairpiece wont stick properly and have an uneven look.

You can help yourself with a small brush, it makes it much easier and faster to apply. When using the brush spread the adhesive in both directions, vertically and horizontally, covering all the areas of the scalp.
Once you have spread evenly you must make sure the adhesive is completely dry. If you desire to add more liquid bond double check the previous coat has dried before applying the next coat. It takes around 3 to 5 minutes to dry between each coat. A tip for those who prefer water-based adhesive is to let it dry until it’s completely clear.
3. Attach

Before attaching corroborate that the adhesive is totally dry. It’ll have a tacky feel and clear appearance. With a clean towel, you can clean all the spots where the adhesive ran through.
Now it’s time to put on your hairpiece! Cautiously place your hair system over your head and the adhesive and position it where you think appropriate. Once it’s located in the correct place, use the flat part of a comb to firmly press the hairpiece on the scalp. Do this for around 1 to 3 minutes. Important: Keep your hair dry for 24 hours after the attachment. This will guarantee a longer bong.
Got any other questions for us? Feel free to call us. We'll be more than happy to help you with any other questions or inquiries you might have.
Give us a call!


