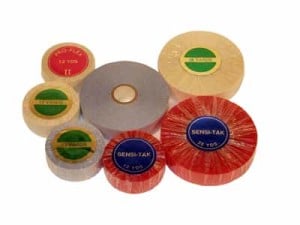
When you first get your Lace Front Wig and supply of tape, there may be a little trial and error when applying the wig tape for the first time. As simple as it may sound, correct application can be tricky, but using these tips, you’ll be applying your beautiful lace front wig like a pro in no time!
1: Apply the wig tape to the lace with the lace side out. You don’t want to run the risk of accidentally getting tape stuck to the wig hair. Ideally, this will be done on a wig head. Peel off one side of the tape and apply the adhesive side firmly on the lace. You will have to apply several pieces of tape around the entire hairline to get a quality adhesion to your head.
2: Now it’s time to prepare your own hairline before application. Make sure your hairline is clean! Wash your face and use an alcohol pad on your hairline, front to back. Then, apply scalp protector in the same areas so the wig tape can get a nice grip on your skin.
3: Place the wig on your head, but do not peel off the other side of the tape quite yet. Get the wig into a position you want and mark off with an eye pencil where you want the wig to finally rest. You may need to adjust the hair of the wig so it doesn’t get in your way.
4: After the area is marked off, you can peel off the other side of the tape. One by one, peel the side of the tape that is going to be applied to your head and press it firmly onto your hairline. Take your time with this; this is a very important step! It is crucial to have each piece of tape positioned appropriately on your head.
5: Finally, remove any pins you may have used during the application process and put on a snug hair band for 15 – 20 minutes. The added pressure will help ensure complete adhesion.
There you have it – applying wig tape in 5 easy steps! The entire process can take about 35 minutes for beginners, so make sure to schedule application accordingly. Do not rush!